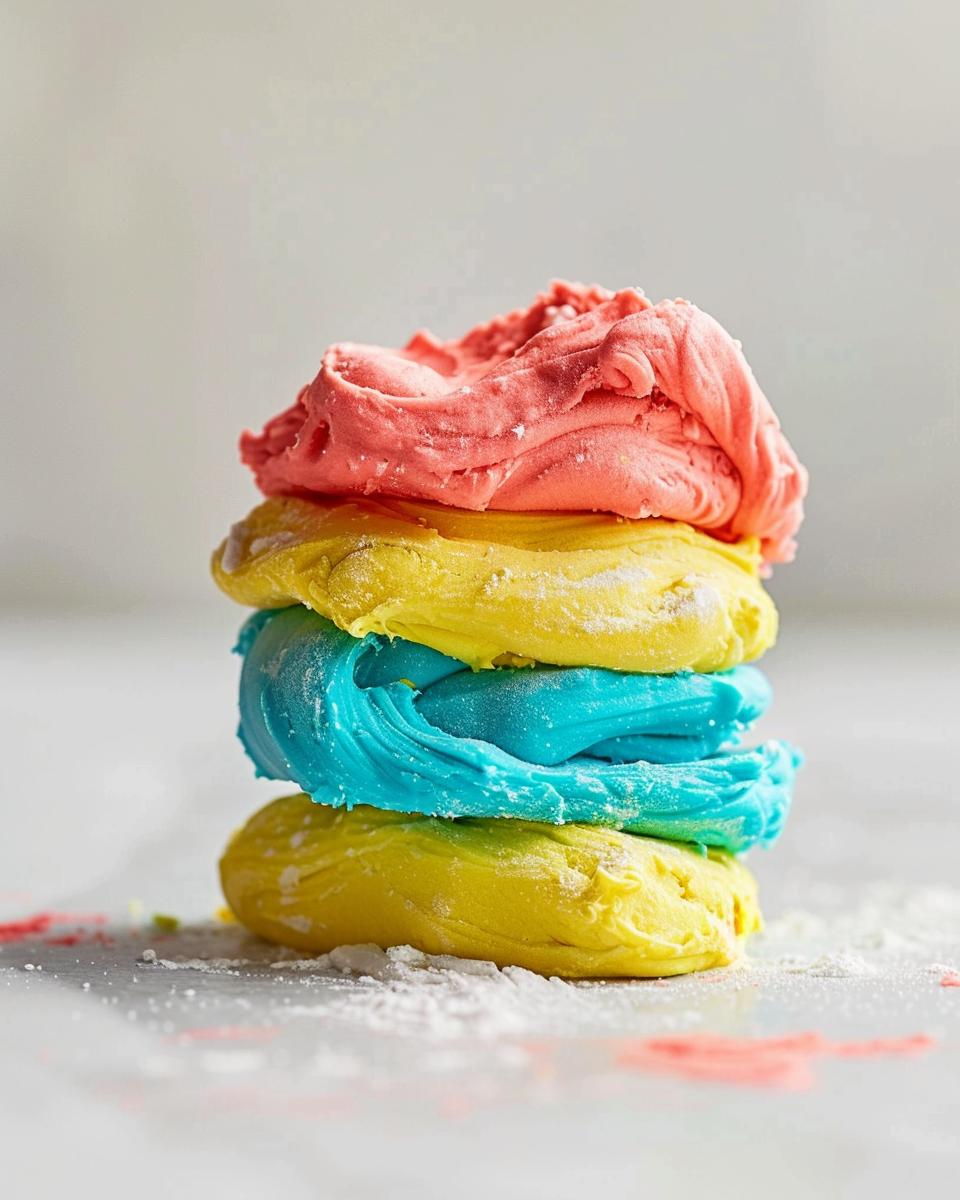
The Ultimate Playdough Recipe: Discover the Secret Ingredient for Hours of Fun
Have you been searching for the perfect playdough recipe to keep your kids entertained for hours? You’re in the right place! This classic playdough recipe is not only easy to make but also involves a secret ingredient that ensures a fun, engaging experience for children of all ages.
In this recipe:
- Simple ingredients you already have at home
- Step-by-step instructions with photos
- Customization options for added fun
Imagine the joy on your child’s face when they start creating colorful shapes and imaginative figures. This playdough recipe is a fantastic way to foster creativity and fine motor skills. Not only is it fun, but it’s also educational. Plus, it’s a great activity for rainy days or any time you need a quick and fun diversion.
If you love simple and rewarding DIY projects, you might also enjoy our 3 Ingredient Ice Cream Recipes. For a pampering treat, check out our Whipped Sugar Scrub Recipe.
So, gather your ingredients and let’s dive into this playdough adventure. Your kids will thank you, and you’ll have a blast too!
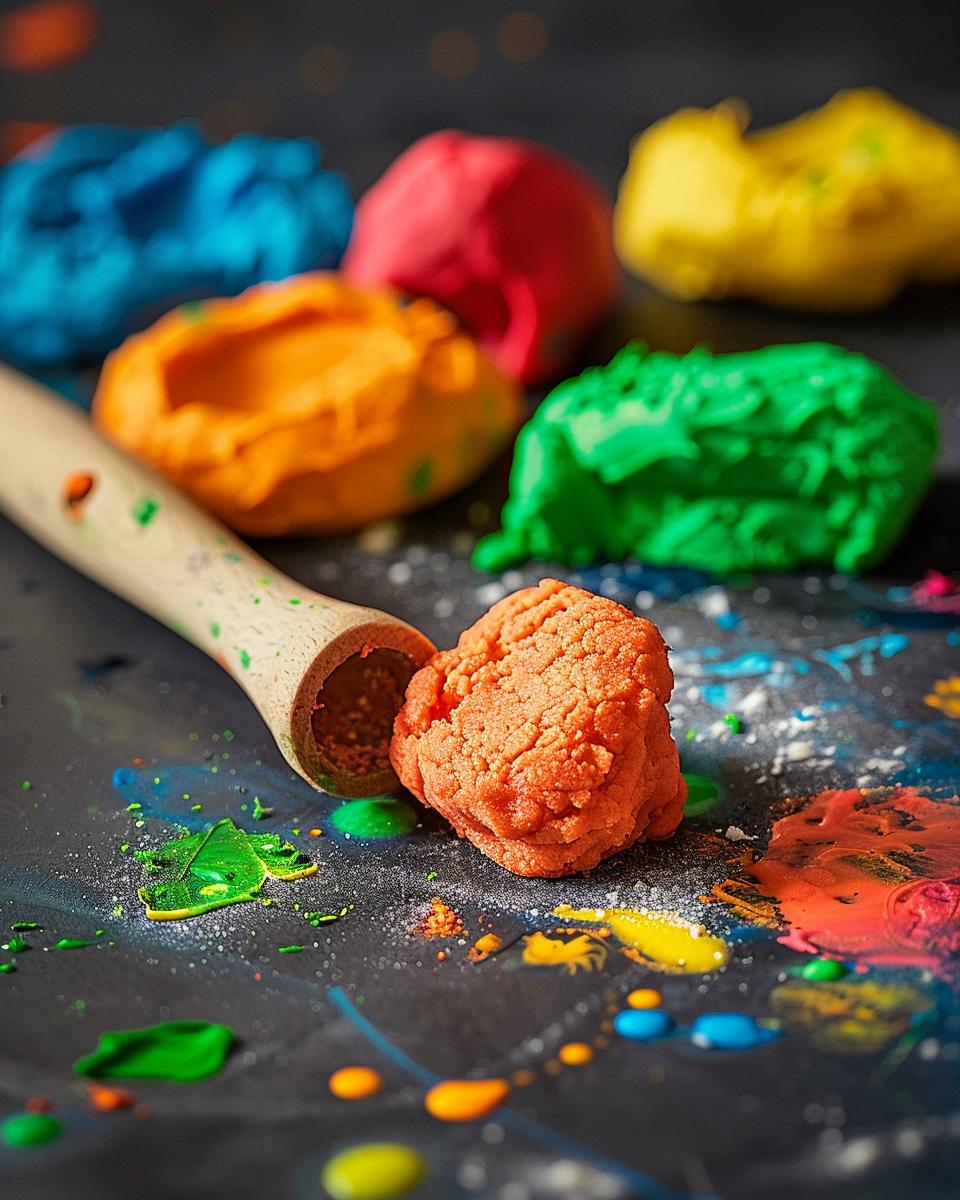
Who Can Make This Recipe: Difficulty Level and Essentials
This easy playdough recipe is perfect for anyone looking to engage young children in a fun, hands-on activity. Whether you’re a parent, teacher, or caregiver, this diy playdough is simple enough for beginners and requires minimal effort.
Difficulty Level: Easy and Beginner-Friendly
One of the best aspects of this best playdough recipe is its simplicity. Even if you have no prior experience with DIY projects, you’ll find this recipe straightforward and enjoyable. The steps are easy to follow, making it a great choice for quick, impromptu play sessions.
You’ll only need basic kitchen tools such as a mixing bowl, spoon, and measuring cups. The ingredients are also easy to find and likely already in your pantry. This makes the process not only convenient but also budget-friendly.
For a detailed guide on another fantastic playdough recipe, check out this resource.
So, gather your essentials, roll up your sleeves, and get ready for some creative fun. Your kids will love it, and you’ll enjoy the simplicity and ease of this engaging activity!
The Ingredients Needed to Make Playdough
Now that we’ve discussed the minimal equipment required, let’s dive into the specifics of gathering the ingredients for our playdough recipe. Choosing the right ingredients is crucial to achieving the perfect texture and consistency. Plus, it allows for fun customization like making scented playdough or adding glitter!
Gathering Your Ingredients
For this playdough with flour recipe, you will need just a few simple items, many of which you probably already have in your pantry. These playdough ingredients ensure a smooth, pliable dough that kids will love to play with.
Here’s what you’ll need:
- 2 cups all-purpose flour
- 1/2 cup warm water
- 1/4 cup salt
- 2 tablespoons vegetable oil
- 2 tablespoons cream of tartar
- Food coloring (optional)
- Glitter or scents (optional)
Each of these ingredients plays a vital role. The flour forms the base, while the salt adds texture and helps preserve the dough. Warm water activates the mixture, making it easier to blend, and the vegetable oil ensures a smooth, non-sticky consistency. Cream of tartar enhances elasticity, which is key for malleable playdough.
Optional ingredients like food coloring, glitter, and scents can make your playdough extra special. Imagine the delight in creating scented playdough or adding a bit of sparkle with glitter!
Ready to get started? Let’s move on to the fun part – mixing everything together to create your homemade playdough masterpiece!

Step-by-Step Guide on How to Make Playdough
Now that we’ve covered the ingredients, let’s dive into the fun part: making the playdough! This simple playdough recipe is easy to follow and perfect for creating homemade playdough that your kids will love.
- Combine the dry ingredients: In a large mixing bowl, pour in 2 cups of all-purpose flour, 1/4 cup of salt, and 2 tablespoons of cream of tartar. These ingredients form the base of your playdough and ensure it’s soft and pliable.
- Add the warm water: Gradually add 1/2 cup of warm water to the dry ingredients. Stir continuously as you pour to make sure the mixture starts forming a dough. The warm water helps dissolve the salt and cream of tartar, creating a smoother texture.
- Incorporate the vegetable oil: Pour in 2 tablespoons of vegetable oil and mix well. The oil adds moisture and helps keep the playdough from drying out. If you want to add more fun to your playdough, now is the perfect time to mix in a few drops of food coloring.
Optional: Add Personal Touches
At this stage, you can get creative with your homemade playdough. Consider adding a few drops of essential oil for a pleasant scent or mixing in some glitter for extra sparkle. These additions make the playdough even more special for kids.
- Knead the dough: Once all ingredients are well mixed, turn the dough out onto a floured surface and knead it until smooth. This helps blend all the ingredients thoroughly and gives the playdough its final texture.
- Store properly: To keep your homemade playdough fresh, store it in an airtight container or plastic bag. This prevents it from drying out and ensures it stays soft and pliable for longer.
And there you have it! With this simple playdough recipe, you can easily learn how to make playdough at home. It’s a fun and engaging activity for kids and adults alike. Enjoy your homemade playdough creations!
Serving and Storing Ideas and Tips
Now that you’ve mastered the step-by-step guide on how to make your own playdough, let’s dive into the best ways to serve and store your homemade creation. This recipe is accessible for all skill levels, requiring minimal cooking knowledge.
Serving Your Playdough
Once your playdough is ready, the fun begins! Pull out some cookie cutters, rolling pins, and other creative tools to shape and mold your dough. Encourage your kids to use their imagination and create anything from animals to abstract art.
Remember, the key to a great playdough experience is variety. Try mixing in food coloring or glitter to add some sparkle to your creations. If you added scents, enjoy the pleasant aroma as you play. The possibilities are endless!
Make sure to play on a clean, flat surface to keep your playdough free from dirt and debris. A placemat or a plastic table cover works wonders in keeping things tidy.
How to Store Playdough
Proper storage is essential for long-lasting playdough. After playtime, gather all the dough and store it in an airtight container. This prevents it from drying out and keeps it soft and pliable for future use.
If you don’t have a container, a resealable plastic bag will work just fine. Squeeze out as much air as possible before sealing the bag. This method extends the life of your homemade playdough.
Keep your playdough in a cool, dry place away from direct sunlight. High heat can cause the dough to dry out faster, reducing its lifespan.
By following these homemade playdough storage tips, your dough can last for up to two weeks. If it starts to dry out, simply add a few drops of water and knead it until it regains its original consistency.
With these serving and storing ideas, your homemade playdough can provide endless hours of fun and creativity. Happy playing!

Pro Tips for the Best Playdough Recipe
- Always use fresh ingredients for optimal texture.
- Mix food coloring into the water for even color distribution.
- Gradually add water to control dough consistency.
- Store playdough in the fridge for longer-lasting freshness.
- Use wax paper to prevent dough from sticking to surfaces.
- Add glitter for a fun, sparkly effect.
- Use cookie cutters for fun shapes and patterns.
- Involve kids in the process for a fun, educational activity.
- Label containers to keep different colors separate.
- Knead dough thoroughly to ensure smoothness and elasticity.
FAQ – Ingredient Replacement Options and Money-Saving Tips
Looking for some handy tips and tricks while making playdough? We’ve got you covered with these frequently asked questions about ingredient replacements and cost-saving measures. Let’s dive in!
Ingredient Replacement Options
Q: Can I substitute gluten-free flour for all-purpose flour?
A: Absolutely! You can use gluten-free flour instead of all-purpose flour to make playdough. The texture might be a bit different, but it will still be fun and pliable for kids to play with.
Q: How can I make playdough without cream of tartar?
A: If you don’t have cream of tartar, you can substitute it with lemon juice or vinegar. Both options help stabilize the playdough and give it that soft texture. Use the same amount as you would with cream of tartar.
Q: Is it possible to make playdough with vinegar?
A: Yes, you can make playdough using vinegar. It serves as a substitute for cream of tartar, providing similar results. Simply replace the cream of tartar with an equal amount of vinegar in your recipe.
Money-Saving Tips
Q: How can I save money on ingredients for making playdough?
A: One of the best ways to save money is by buying ingredients in bulk. Items like flour, salt, and vegetable oil are often cheaper when purchased in larger quantities. This not only saves money but also ensures you have enough supplies for multiple batches.
Q: Are there any budget-friendly alternatives for making playdough?
A: Yes, there are! You can use common kitchen ingredients like baking soda and cornstarch as substitutes for some of the pricier items. Additionally, consider using food coloring sparingly or repurposing leftover food dyes from other projects.
For more detailed playdough recipes and tips, check out this fantastic guide from I Heart Naptime.
By implementing these ingredient replacements and money-saving tips, you can enjoy creating playdough at home without breaking the bank. Happy crafting!

