Ever wondered if a liquid culture recipe is as easy as pie? Spoiler alert: it is! Dive into our comprehensive guide, packed with step-by-step instructions and handy tips. Whether you're a novice or a seasoned pro, we've got you covered. So roll up your sleeves, let's simplify mushroom cultivation and unlock the benefits of liquid culture together. Ready to stir things up?
TL;DR:
- Liquid culture is a nutrient-rich medium used to speed up mushroom growth which is cost-effective and efficient at producing mycelium on a large scale.
- Essential ingredients include water, malt extract, and optional brewer's yeast. Equipment comprises Mason jars/media bottles, self-healing injection ports and gas exchange filters, and a pressure cooker for sterilization.
- The liquid culture preparation process involves mixing the ingredients, sterilizing them, filling jars/bottles, and storing in a dark, warm place until it turns cloudy with mycelium.
- Key steps include sterilization to avoid contamination, inoculation, agitation for even mycelium distribution, and incubation to allow the culture to develop. When successful, the solution will be milky and cloudy.
- The ready liquid culture can be stored in a cool, dark place for up to six months or used to inoculate a mushroom substrate for mushroom cultivation.
Liquid Culture: What it is and its Benefits
Introduction to Liquid Culture
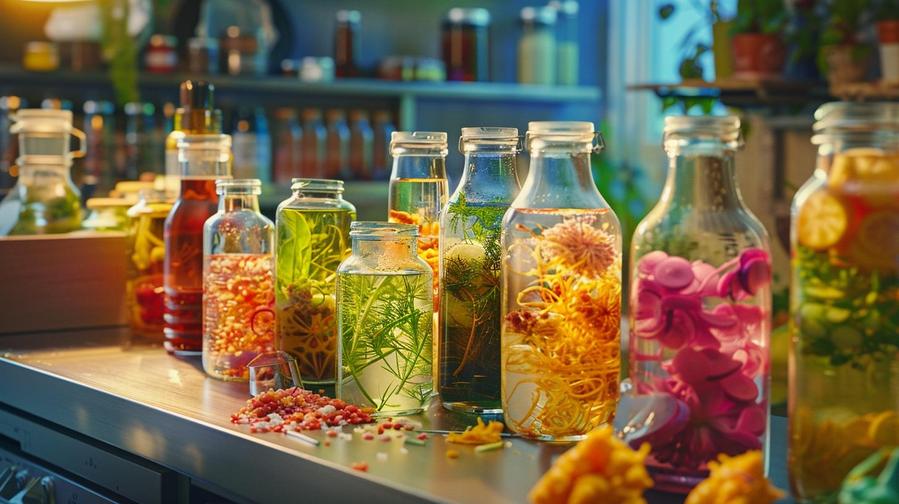
In mushroom cultivation, a liquid culture recipe is your best friend. Just think of a smooth nutrient bath for mushrooms. It's a liquid medium rich in foods for a fungus, like malt extract and water. This preparation not only nurtures the mushroom but speeds up the growing process.
Why Use Liquid Culture?
Using liquid culture comes with a treasure of benefits. It's pocket-friendly and efficient. It lets you sprout mycelium, a reusable part of the fungus, on a large scale without the worry of spending too much.
Let's take a peep into the liquid culture world. First, pick a sturdy strain of mushrooms. Then comes the making of the nutrient-rich solution. You'll mix ingredients like malt extract and water. The striking feature of this method is the lower contamination risk as compared to using spores.
Apart from easy to set up and less expensive, one of the main benefits of using liquid culture is that it will help the magic mushrooms rise to prominence! The sterilization part is crucial. Keep the jars with self-healing injection ports and gas exchange filters for this job. With a fine mix of nutrients and a warm dark incubation spot that mycelium loves, and with a watchful eye, your liquid will soon turn cloudy. Ready-to-use liquid culture can then be used to inoculate mushroom substrate for growth.
Look at how simple this process is! The main ingredients for the liquid culture recipe are 1L of water, 40g of malt extract, and 1g of brewer's yeast. Other than a pressure cooker and a few Mason jars or media bottles with modified lids, you won't need any fancy equipment.
Just remember that sterilization is vital. After filling the jars or bottles with the liquid culture broth, they should be sterilized. The inoculation process can then be carried out using a liquid culture syringe or mycelium grown on agar. The aim is to distribute the mycelium evenly throughout the liquid culture.
Once these steps are carried out correctly, you are well on your way towards successful mushroom cultivation! Isn't that amazing?
To learn more about DIY liquid culture recipes check out this amazing guide.
Necessary Ingredients and Equipment
When it comes to creating a successful liquid culture recipe for mushroom growth, choosing the right ingredients and equipment is crucial.
Ingredients for Liquid Culture
For a basic honey liquid culture recipe or a liquid culture recipe for cubensis, you'll need these key ingredients:
- Water (1 liter): Non-chlorinated or distilled water works best.
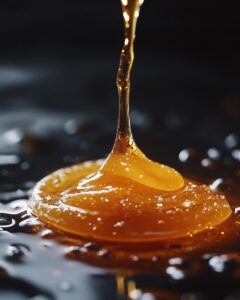
- Honey (2 tablespoons) or Light Malt Extract (40g): These provide essential nutrients.
- Optional: Brewer's yeast (1g): Yeast can enhance the nutrient content of your solution.
If you're more advanced and looking for the best liquid culture recipe, consider using peptone. This ingredient is highly nutrient-dense and is often used in more specialized liquid culture recipes for peptone.
Essential Equipment
While a digital scale isn’t a must, it can help get accurate measurements, making the recipe more reliable (Digital Scale Link).
You'll also need:
- Mason jars or media bottles: The ideal containers for your liquid culture broth.
- Self-healing injection ports and gas exchange filters: These are crucial for reducing the risk of contamination.
- A pressure cooker: To sterilize your equipment and media.
Choosing the Right Mushroom Strain
Picking the right mushroom strain is also vital. Whether it's a cubensis strain or other types, ensure it's robust and suitable for liquid culture to maximize your chances of success. If you're new to this, test with different strains to see what grows best for you.
Stay tuned for steps on how to prepare your liquid culture solution with these ingredients and equipment!
Preparing the Liquid Culture Solution
As we delve into the process of making a liquid culture solution, the first part to grasp is mixing the nutrient-rich solution. The ingredients you choose can vary, but a common method includes using light malt extract or karo as part of the mix. Proportions may vary, but a common starting point would be around 40g of light malt extract for 1L of water. Corn syrup can also work as a suitable alternative.
Once your mix of choice is complete, the next step involves sterilization and filling your jars or bottles. Mason jars or media bottles work best for this process. You want to be sure to create a favorable environment for your mycelium to grow but unfavorable for any potential contaminants.
Now, the sterilization process needs a heavy-duty tool, a standard kitchen pressure cooker will do fine. While transferring the mix to your jars or bottles, caution is advisable. Aim to keep your space as sterile as possible to reduce the risk of unwanted contaminants.
Bear in mind that adequate filling is crucial too. Don't fill the jars or bottles to the brim. Leave some room for shaking the mixture after inoculation. Not too much though. An estimate would leave the containers about two-thirds full.
Making a liquid culture solution isn't too challenging. It requires carefulness and attention to detail. Adopting a meticulous approach ensures that the mycelium has the best chance of growth, and the risk of contamination stays low.
Once your sterilized bottles are inoculated, gently shake the solution. This helps distribute the mycelium evenly. Then, store your bottles in a safe place away from direct sunlight and wait for the magic to happen. The entire process should take about two weeks.
As you can see, the process of making liquid culture is more about precision and less about complexity. All it needs is the right ingredients, sterile equipment, and a bit of patience. Happy growing!
Sterilization Process
If you're into the mushroom world, you know that sterilization is key. It's like a shield, protecting your much-loved mushroom liquid culture from unseen enemies – contaminants. To make matters clear, let's dive into the importance of sterilization.
Importance of Sterilization
Let's start with a fact. Fungi are not the only ones who love the 'lme liquid culture recipe' or the 'peptone liquid culture recipe'. Other microorganisms are also looking for such nutrient-rich areas to thrive.
Failure to sterilize could invite these microorganisms, leading to contamination. This can result in a poor quality liquid culture that would ultimately affect your final yield of mushrooms. So, sterilization is not just a step in your 'liquid culture recipe shroomery' but the backbone of a successful mushroom cultivation process.
How to Sterilize Your Liquid Culture
Now, let's talk business. The sterilization of your liquid culture is all about the right process and the right tool. Remember, it's not just about finding a 'peptone liquid culture recipe' or an 'lme liquid culture recipe' but about taking care of it.
Look at this enormous and mighty stainless steel Pressure Cooker. This is the key to successful sterilization. What you need to do is put your jars or bottles filled with liquid culture into this. Then, crank up the heat. The high temperature and pressure achieved here kill the unwanted microbes.
But remember! You should cool it down slowly to room temperature. This is important to remember as rapid cooling could lead to damage of the pressure cooker or even your jars of liquid culture.
In summary, remember that sterilization holds immense importance in the mushroom cultivation process. Don't take it casually! Get the right tools, follow the process with precision, and you are one step closer to your mushroom harvest.
Inoculation and Agitation
Whether you're choosing a cubensis liquid culture recipe or following a cordyceps liquid culture recipe, ease is a key draw.
Inoculating the Sterile Liquid Medium
To inoculate, you need spores or mycelium and a sterile liquid medium. Place it in a syringe. Inject it into the liquid. This steps looks easy. You could find it complicated at first try, but, like with anything new, a few practice runs is all it takes. Be sure to be clean and quick! It reduces the risk of any sort of contamination.
Distributing Mycelium: The Role of Agitation
Agitation helps spread the mycelium evenly throughout the entire jar. The key tool for this? I strongly recommend using this magnetic stirrer. An actual game-changer! With it, every corner of your jar will be reached. Mycelium can evenly grow. Project success right at your fingertips!
Remember: these steps are fundamental whether you're working with a simple liquid culture recipe, or a more complex one. Keep in mind, patience and tenacity are just the secret ingredients in mushroom cultivation. Happy myceliating friends!
Incubation and Identifying Healthy Cultures
If you're delving into the world of mushroom cultivation, you might be working with a lion's mane liquid culture recipe or exploring simple homemade liquid culture recipes. Either way, it's critical to understand the incubation process and how to identify a healthy liquid culture to ensure your success.
The Incubation Process
Post-inoculation, your jars need rest in a warm, dark space. This incubation period allows the liquid to become cloudy with mycelium growth, signifying a healthy, thriving culture. Depending on the species and the temperature, this can take between one and two weeks. Agitation can also help distribute the mycelium evenly throughout the liquid culture.
A handy tool to mix your liquid culture without introducing contaminants or having to open the jar is a magnetic stirrer. Using a stir bar and a magnetic field, it can keep your culture evenly distributed and in perfect condition for inoculation.
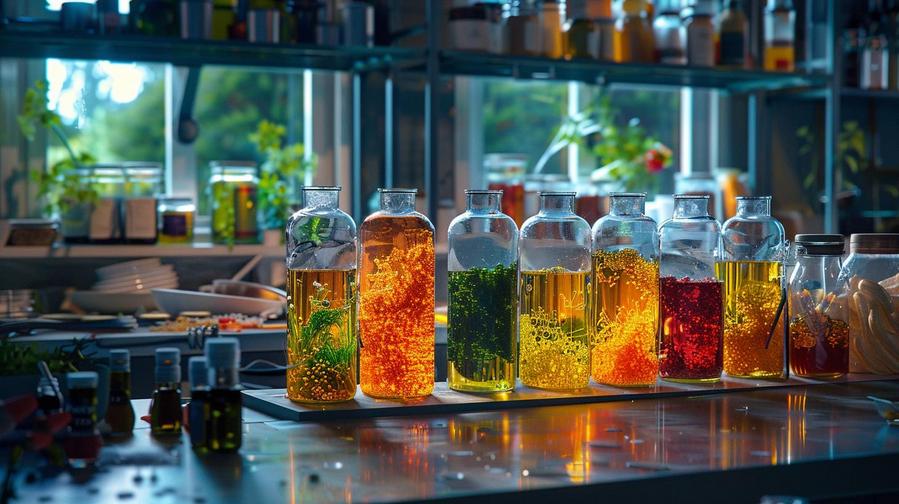
What Does Healthy Liquid Culture Look Like?
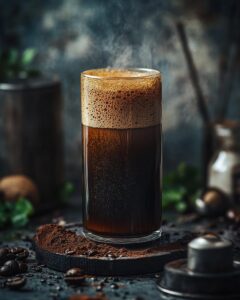
After successful incubation, your liquid culture should appear milky or cloudy. This is due to the mycelium growth dispersed throughout the liquid.
The mycelium's color can range from off-white to slightly tan for most species. A snow globe effect (with tiny mycelium particles floating around when you agitate) is a sign of a healthy culture. Any unusual colors, such as green, black, or orange, should warrant suspicion as these are often indicative of contaminants.
In conclusion, creating a liquid culture at home does require attention to detail, but the process can be quite exciting once you understand the fundamentals. It's sometimes a bit of trial and error, but with knowledge, practice, and a little patience, you'll be well on your way to growing your own fresh, healthy mushrooms at home.

Utilizing the Liquid Culture
One of the powerful aspects of a liquid culture is its application in developing mycelium. Now, let's focus on how to effectively harness your liquid culture.
Transferring the Liquid Culture
Having a robust liquid culture, let's say of corn syrup or honey, is great but making use of it is the real art. Here's the deal, you need to transfer the culture into a new nutrient source to continue the mushroom's growth. But how can you do that? You simply need a sterilized needle, like used in inoculations.
With the sterile needle, you can transfer the mycelium into grain spawn or agar. Remember to be quick and clean in the process, as contaminants are always ready to invade. While doing this, make sure you handle your jars or bottles with sterile gloves to reduce risk.
Inoculating the Mushroom Substrate
Here comes the fun part of the process. Let's say you have a clear liquid culture ready. How can you put it to use? The incubated culture is now ready for inoculating mushroom substrate.
You will need to inject the liquid culture into your bag or jar of sterilized substrate. Make sure to shake the jar gently. It ensures that the mycelium disperses evenly. Once the inoculation process is done, the substrate should be stored in a warm, dark space.
Over a week or so, you will start noticing a web-like growth. The liquid culture accelerates the colonization of the substrate by providing a head start to the mycelium. This entire process is indeed quite engaging and fulfilling.
I believe that these recipes and directions are user-friendly and can be easily employed by amateurs or experts alike in the realm of mushroom cultivation. Consistency and sterilization are the key aspects to ensure success in mushroom cultivation. Keep going on your journey and happy cultivating! For more insights, head over here.
Storage and Shelf Life
After you've prepped your liquid culture using the honey liquid culture recipe for mushrooms, it's pivotal to store it properly. Optimal storage conditions ensure prolonged use, safeguarding the potency of your mycelium.
How to Store Your Liquid Culture
Store the jars in a cool, dark place. Based on personal experience and insights gleaned from liquid culture recipe Reddit discussions, refrigeration, within 2-4°C, is ideal. This slows down mycelium growth, increasing the shelf life. Ensure the storage area is clean to avoid contamination.
Shelf Life of Liquid Culture
Just like the honey liquid culture recipe PDF suggests, you can store the concoction for up to 6 months. After this period, its effectiveness dwindles. The culture will still be viable, but its growth rate will be slower than that of a fresh culture. It's advisable, therefore, to use fresh cultures whenever practicable.
Remember, the life span of your liquid culture primarily depends on the storage conditions. Proper storage, along with regular stick-to-itiveness, will ensure your mushroom cultivation experience is easy-going and fruitful at the same time.
In a nutshell, think of your liquid culture as a treasure to be protected and nurtured. A little care can go a long way in ensuring its vitality and longevity.
Common Questions and Concerns
Well, are you ready to dive into the world of homemade liquid cultures? One thing is for sure – questions will arise, especially during your first-time go-round. Yet, I can assure you – I got you covered!
The first query I get a lot is about spotting contamination. Well, raising mushrooms is a bit like playing detective. Discerning contamination usually involves keenly observing your liquid culture. Look out for unexpected color changes, unpleasant odors, or unusual growth. These could indicate unwanted bacteria or mold.
Now you might ask: Can I make liquid culture from spores? Absolutely! In fact, it's a popular practice among mushroom cultivators. Here's how to do it – simply inject spore syringe solution into your sterilized liquid culture jars and let Mother Nature handle the rest. My best tip: Make sure your spores and liquid culture are both fresh to get the best results.
Next up: How often should I stir or shake a liquid culture? In general, stirring or shaking your culture once every two days helps encourage growth. Ever wonder why? It's no mystery – this simple action breaks down the mycelial network into smaller bits, which then regrow, strengthening the whole culture. Just remember, don't overdo it!
Liquid cultures are cost-effective, reduce risks, and can be made with common kitchen ingredients, like malt extract and water. Let's not forget about the all-important sterilization step! Remember to inoculate your sterile liquid medium carefully to distribute the mycelium evenly.
The liquid culture honey water ratio is usually 1-2. But, depending on your chosen mushroom strain and nutrient source, the dextrose liquid culture recipe ratio might also work.
Yes, it takes time and patience, but there's a certain magic in watching these small jars fill with cloudy, growing mycelium. If I can do it – you can too! So, let's turn your kitchen into a mushroom laboratory and get started.
Additional Tips and Tricks
As you embark on the journey of making your own liquid culture recipe for cubensis, it's essential to keep a few key points in mind. This process doesn't have to be daunting, it can be both fun and rewarding.
Preparing Your Workspace
To kick things off, ensure to have a clean, well-lit workspace. Keeping your area clean can be the difference maker between successful fungi growth and an unfortunate contamination. So, clear off that counter and get ready to work!
Loading the Syringe
Next, you'll be dealing with your spore or mycelium source. When loading your syringe, ensure that you're doing so in a sterile environment. You can create a homemade still air box, or work near a lit flame, anything that helps in minimizing outside contaminants. Remember, patience here is a virtue!
Monitoring Progress
Once you've introduced your spores or mycelium into your jars, it's time to wait. The process of cultivating mushrooms can be a slow one, but don't worry! Check on your jars every few days and look for visible signs of growth. With time, you'll see that cloudiness form – that's your mycelium!
Venturing into the world of homemade liquid cultures can seem overwhelming, but armed with the right tips and a dash of patience, you'll soon realize it's a wholly manageable and enjoyable process. Happy cultivating!
In summary, this guide has offered a detailed look into the process of creating liquid culture for mushroom growth. From understanding what liquid culture is, to selecting ingredients and equipment, to preparing the solution, sterilizing, inoculating, and incubating, we've covered all the steps. We've also touched on how to identify healthy cultures, how to use them, and their storage and shelf life. Finally, we've addressed common questions and concerns and provided some additional tips. Mastering this process can truly enhance your mushroom growing experience. Remember, practice makes perfect. Happy growing!