Best Bread Recipe to Transform Your Baking Skills
Are you ready to elevate your baking game? Look no further! This is the best bread recipe that will transform your baking skills and leave your friends and family in awe. With easy-to-follow steps and professional tips, you’ll be crafting bakery-quality bread in no time.
In this recipe:
- Simple ingredients for classic French baguette
- Step-by-step instructions
- Pro chef tips for perfect results
- FAQs for troubleshooting
Imagine the aroma of freshly baked bread filling your kitchen. Now, imagine slicing into a perfectly crusty loaf with a soft, airy interior. That’s what you’ll achieve with this recipe. And if you’re interested in expanding your bread repertoire, check out our Pumpernickel Bread Recipe for a deliciously dark and rich option. Or, if you want to dive into the world of sourdough, our Sourdough Starter Recipe will set you on the right path.
Ready to get started? This recipe will not only enhance your baking skills but also impress anyone lucky enough to taste your creations. Let’s dive into the details and unlock your inner baker!

Who Can Make This Recipe, Difficulty Level, and Necessary Equipment
This recipe is designed for everyone, from beginners to experienced bakers. If you’re new to bread-making, don’t worry; this is a bread recipe for beginners that guides you through each step. For seasoned bakers, it offers a chance to perfect your technique.
The difficulty level of this recipe is easy to moderate. It’s an easy homemade bread recipe that allows you to hone your skills and impress your family and friends with a delicious homemade baguette.
Essential Equipment
To make the best bread, you’ll need some basic baking equipment for bread. Here’s a list of what you’ll need:
- Mixing bowl
- Measuring cups and spoons
- Stand mixer or your hands for kneading
- Baking sheet
- Parchment paper
- Oven
These essential tools ensure a smooth baking process. The mixing bowl and measuring tools help you get the right quantities. A stand mixer can make kneading easier, though hand-kneading works just as well. A baking sheet lined with parchment paper provides the perfect surface for baking your baguette to golden perfection.
Ready to get started? Gather your equipment and ingredients, and you’ll be on your way to making the best bread recipe you’ve ever tried. Let’s bake!
The Ingredients Needed to Make the Best Bread
Now that we’ve covered the minimal equipment needed to make this classic bread recipe, let’s dive into the specifics of the ingredients. Choosing the right ingredients is crucial for achieving the perfect loaf of homemade bread with yeast. So, what exactly do we need? Let’s take a closer look.
Essential Ingredients for Success
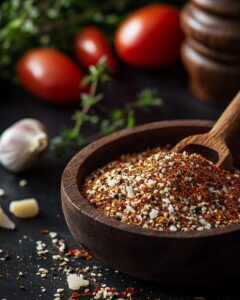
Here are the simple bread ingredients you’ll need:
- 1 1/2 cups (190g) warm water – The water temperature should be around 100°F to 110°F. This is crucial to activate the yeast properly.
- 2 teaspoons active dry yeast – Yeast is the key ingredient in making homemade bread with yeast, giving it that lovely rise and airy texture.
- 3 tablespoons (40g) granulated sugar – Sugar not only adds a touch of sweetness but also feeds the yeast, helping it to grow.
With these basic ingredients, you’re well on your way to creating the best bread recipe ingredients can offer. The simplicity of this classic bread recipe makes it accessible for all levels of bakers. So, are you ready to get started?

Step-by-Step Guide on How to Make the Best Bread
Now that we have all our ingredients ready, it’s time to dive into the best bread recipe step by step. Follow these easy bread recipe instructions to achieve perfect results every time.
Step 1: Activate the Yeast
Start by mixing warm water and yeast in a large bowl. Stir gently and let it sit for 5-10 minutes, or until it becomes frothy. This step is crucial for achieving the perfect rise in your bread.
Wondering if your yeast is active? Look for bubbles forming on the surface. If there’s no froth, your yeast might be old and should be replaced.
Once you see the froth, you’re ready to move on to the next step. This initial activation sets the stage for a successful bake.
Step 2: Mix the Dough
In the same bowl, add sugar, flour, and salt. Mix the ingredients together until a shaggy dough forms. This might look messy, but don’t worry—it’s supposed to!
Combining these ingredients ensures that each element is evenly distributed, which is essential for the perfect bread recipe. If you have a stand mixer, use it to make this process easier.
Mixing thoroughly at this stage helps the dough develop its structure, making the next steps smoother.
Step 3: Knead the Dough
Turn the dough out onto a floured surface and knead for 10-12 minutes. You’ll know it’s ready when it becomes smooth and elastic. This step is key to developing the gluten, which gives the bread its chewy texture.
Tired of kneading? Try using the windowpane test. Stretch a small piece of dough between your fingers. If it forms a thin, translucent membrane without breaking, you’re good to go!
By now, your dough should feel soft and pliable, making it ready for the first rise. These homemade bread baking tips will ensure your bread turns out perfectly every time.
With these steps completed, you’re well on your way to baking the best bread. Stay tuned for the next stages, where we’ll cover rising, shaping, and baking to perfection.
Serving and Storing Ideas and Tips
Now that you’ve mastered the steps of making this delicious baguette, let’s move on to the next essential part: serving and storing. Knowing how to serve and store your homemade bread properly can make all the difference in maintaining its freshness and flavor.
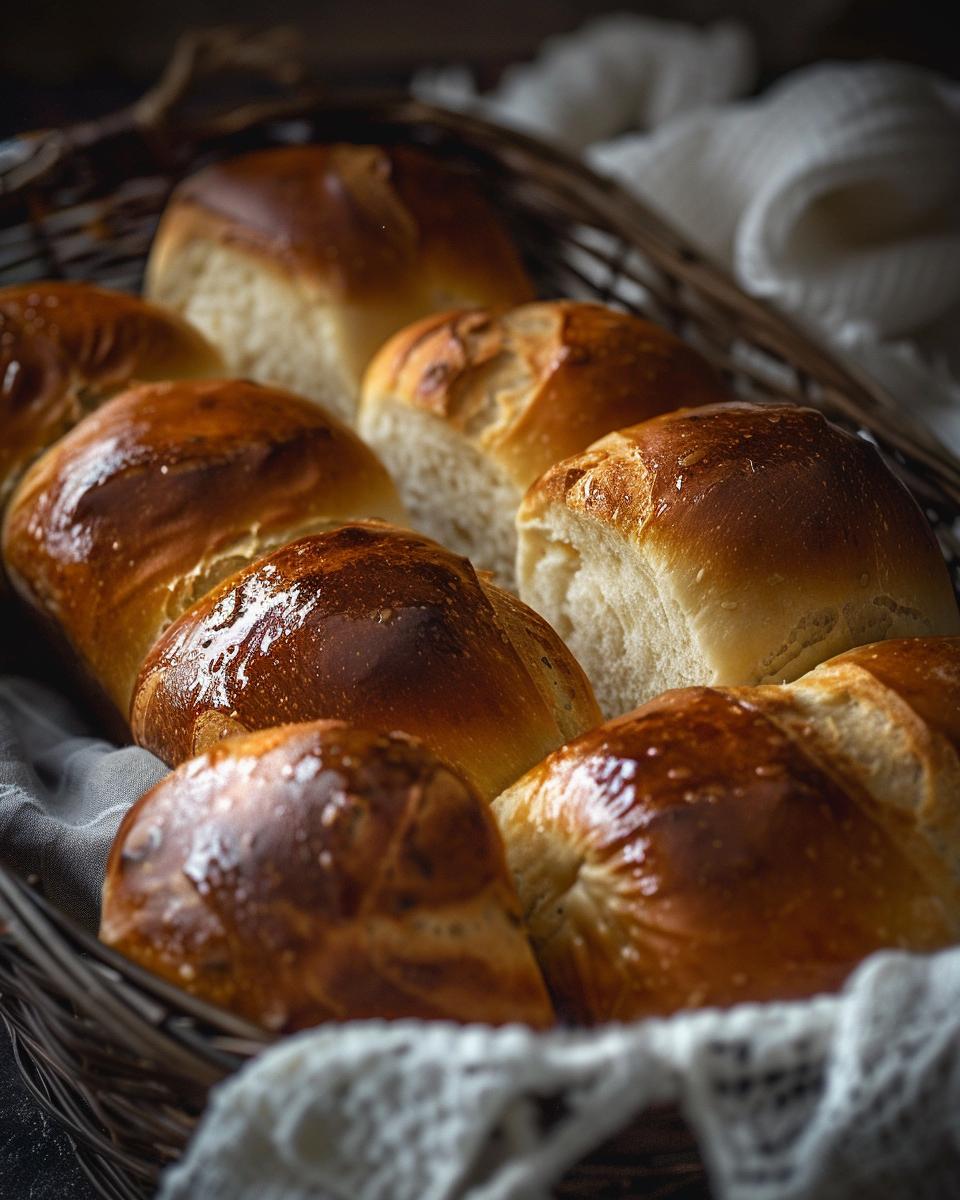
Serving Fresh Bread
There’s nothing quite like serving fresh bread straight out of the oven. When your baguette has cooled for at least 30 minutes, it’s ready to be sliced and enjoyed. Pair it with your favorite cheeses, dips, or spreads, or use it to make a gourmet sandwich. Fresh bread is also perfect for making bruschetta or serving alongside soups and salads. With this recipe, you have a versatile base that can complement any meal.
When it comes to storing homemade bread, there are a few key tips to keep in mind to ensure it remains fresh and tasty.
- Store the baguette in a paper bag at room temperature for up to two days. This method helps maintain its crispy crust while keeping the inside soft.
- If you need to keep the bread for longer, wrap it tightly in plastic wrap and place it in a resealable plastic bag before freezing. The best way to store bread in the freezer is to slice it first, so you can take out just what you need.
- To reheat bread, simply place it in a preheated oven at 350°F (175°C) for about 10 minutes. This will help restore its original texture and warmth.
With these tips, you can enjoy your homemade baguette at its best. Whether serving fresh or storing for later, you’ll always have delicious bread ready to complement any meal. Remember, the key to serving fresh bread is to enjoy it within the first couple of days for the best flavor and texture.
So, go ahead and give this recipe a try! You’ll find that making homemade bread is not only accessible for all levels but also incredibly rewarding. Happy baking!

Pro Tips for the Best Bread Recipe
- Always use fresh, active dry yeast for the best results.
- Measure ingredients accurately using a digital scale.
- Use warm water, between 100°F to 110°F, for yeast activation.
- Knead the dough until it’s smooth and elastic, about 10-12 minutes.
- Let the dough rise in a warm, draft-free place for optimal rising.
- For a crispier crust, place a baking stone in the oven.
- Score the dough before baking to allow for proper expansion.
- Cool the bread completely on a wire rack before slicing.
- Store the bread in an airtight container to maintain freshness.
- For a golden crust, brush the dough with water before baking.
FAQ – Ingredient Replacement Options, Money-Saving Tips, and Relevant Tips
Welcome to the FAQ section! Here, we answer some of the most popular questions about making bread and provide useful tips for ingredient replacement and saving money during your baking adventures.
Ingredient Replacement: Whole Wheat Flour and More
Question 1: Can I replace all-purpose flour with whole wheat flour?
Yes, you can substitute up to 50% of the all-purpose flour with whole wheat flour. This will give your bread a nuttier flavor and a denser texture. However, using more than 50% might affect the rise and texture of the bread. Start with 50% and adjust according to your preference.
Question 2: Can I use gluten-free flour in this bread recipe?
Yes, but the results may vary. Gluten-free flours require different hydration levels and sometimes additional binders like xanthan gum. It’s best to use a gluten-free bread-specific recipe to ensure the best results.
Question 3: What can I use instead of sugar?
You can replace granulated sugar with honey or maple syrup. However, keep in mind that these liquid sweeteners may slightly alter the moisture content of your dough. Adjust the water content accordingly if needed.
Money-Saving Tips for Baking Bread on a Budget
Question 4: How can I save money on baking ingredients?
Buying ingredients in bulk is a great way to save money. Ingredients like flour, sugar, and yeast have a long shelf life if stored properly. Additionally, consider using a bread machine to save time and effort, which can also help reduce energy costs.
Question 5: Are there any budget-friendly alternatives for kitchen tools?
Absolutely! Instead of investing in a high-end stand mixer, you can knead the dough by hand or use a basic hand mixer with dough hooks. For baking stones, a simple baking sheet lined with parchment paper can work just as well.
Relevant Tips for Perfect Bread Every Time
Question 6: How important is water temperature for yeast activation?
Water temperature is crucial for yeast activation. Ensure the water is between 100°F to 110°F. Too hot, and you risk killing the yeast; too cold, and the yeast won’t activate properly. Use a digital thermometer for accuracy.
Question 7: Why should I avoid overmixing the dough?
Overmixing the dough can lead to a dense and tough bread. Mix until the ingredients are just combined, and knead gently until the dough is smooth and elastic. This ensures a light and airy texture.
For more tips and detailed bread recipes, check out this comprehensive bread recipe from Tastes Better From Scratch.