Red Headed Shot Recipe: Discover the Secret to an Exotic Taste Adventure
- Discover a vibrant red headed shot recipe
- Learn step-by-step instructions for an exotic taste experience
- Find complementary drink ideas for your next party
Ever craved an adventure in your glass? Look no further! Our red headed shot recipe is your ticket to an exotic taste journey. This vibrant concoction is a sure-fire way to spice up any gathering.
So, why settle for the ordinary? Indeed, the right mix can transform your evening. Imagine the buzz you’ll create with this stunning shot. But there’s more to explore! Have you tried unleashing the unexpected party power of a Vodka Redbull?
Now, let’s get mixing. With simple ingredients and easy-to-follow steps, you’re set for success. Furthermore, if you’re in for a twist, why not add a buzz-worthy party trick with Jello shot syringes?
Ready to impress? Certainly, your guests will be asking for more. And you’ll be the master behind the bar. Let’s dive into an ocean of flavors with our red headed shot recipe. Cheers to your bold taste adventure!

Who Can Embark on the Red Headed Shot Adventure
Are you ready to dive into the world of shots with a splash of fiery red? Whether you are a cocktail enthusiast or just starting out, the easy red shots are your playground. So, who can take on this adventure?
Firstly, this journey is open to all. That’s right, from the novice mixologist to the seasoned bartender, anyone can master the simple red snapper shot recipe. With its straightforward ingredients and uncomplicated steps, it’s a delightful challenge for anyone looking to add some pizzazz to their mixology skills.
Moreover, understanding the simplicity of the cocktail’s construction is key. The best cherry bomb shot recipes are not only about the vibrant color or the explosive taste but also about the ease of creation. So, don’t worry if you are new to this. We will guide you through every step.
Gathering the Ingredients and Tools
Next, let’s talk about tools. Before you begin, ensure you have the right glassware and tools to craft the perfect shot. A shaker, some ice, a strainer, and shot glasses are your basic essentials. Remember, the right equipment can turn a good shot into a great one.
Finally, are you curious about the ingredients? A simple visit to a website such as HomeBarMenu will reveal all you need to know about the tantalizing mix of spirits that go into a red headed shot. With these recipes at your fingertips, you’re all set to wow your friends and family with a burst of flavor in a tiny glass.
So, whether you’re hosting a party or just experimenting at home, the red headed shot is a journey worth taking. Embrace the adventure, and let’s make some unforgettable memories, one shot at a time!
Essential Ingredients for the Red Headed Shot
Now that you know you don’t need any fancy equipment to make a red-headed shot, let’s dive into the heart of the matter: the ingredients. The secret to the perfect shot lies in the careful selection of quality components. Each element brings its unique flavor to the mix, creating a delectable balance that’s hard to resist. Are you ready to gather what you need for this delightful concoction?
What You’ll Need to Create Magic
First up, you’ll need cherry vodka, the star of our red-headed shot recipe. This sweet and fruity spirit sets the stage for a truly tantalizing experience. Next, a dash of Peach Schnapps adds a layer of juicy, peachy goodness, enhancing the overall taste. And let’s not forget the cranberry juice—it not only contributes to the vibrant red hue but also gives the shot a tart edge, balancing the sweetness perfectly.
When selecting your spirits for these cherry vodka shots with vodka, remember that quality matters. Opt for premium brands to ensure your red gummy bear shot doesn’t just look good but tastes divine. The right ingredients can elevate a simple shot from ordinary to extraordinary. So, are you prepared to impress with your mixology skills?
As you gather these ingredients, consider the role each plays. The cherry vodka provides a robust base, the Peach Schnapps introduces a soft, velvety texture, and the cranberry juice ties it all together with a zesty kick. Together, they create a red-headed shot that’s as fun to make as it is to drink. Ready to shake things up?

Step-by-Step Guide to Crafting the Red Headed Shot
Now that you’ve got your kamikaze shot ingredients ready, let’s transition smoothly into the art of making the perfect Red Headed Shot. Ever wondered how to mix the right proportions for that balanced taste? Or perhaps you’re curious about the techniques for layering ingredients to create that visually stunning effect? Well, you’re in the right place!
Getting the perfect chill without dilution is crucial, and I’ve got some tips that will ensure your shots are always on point. Let’s dive into the step-by-step process that will make you the star bartender at your next gathering.
Mastering the Mix
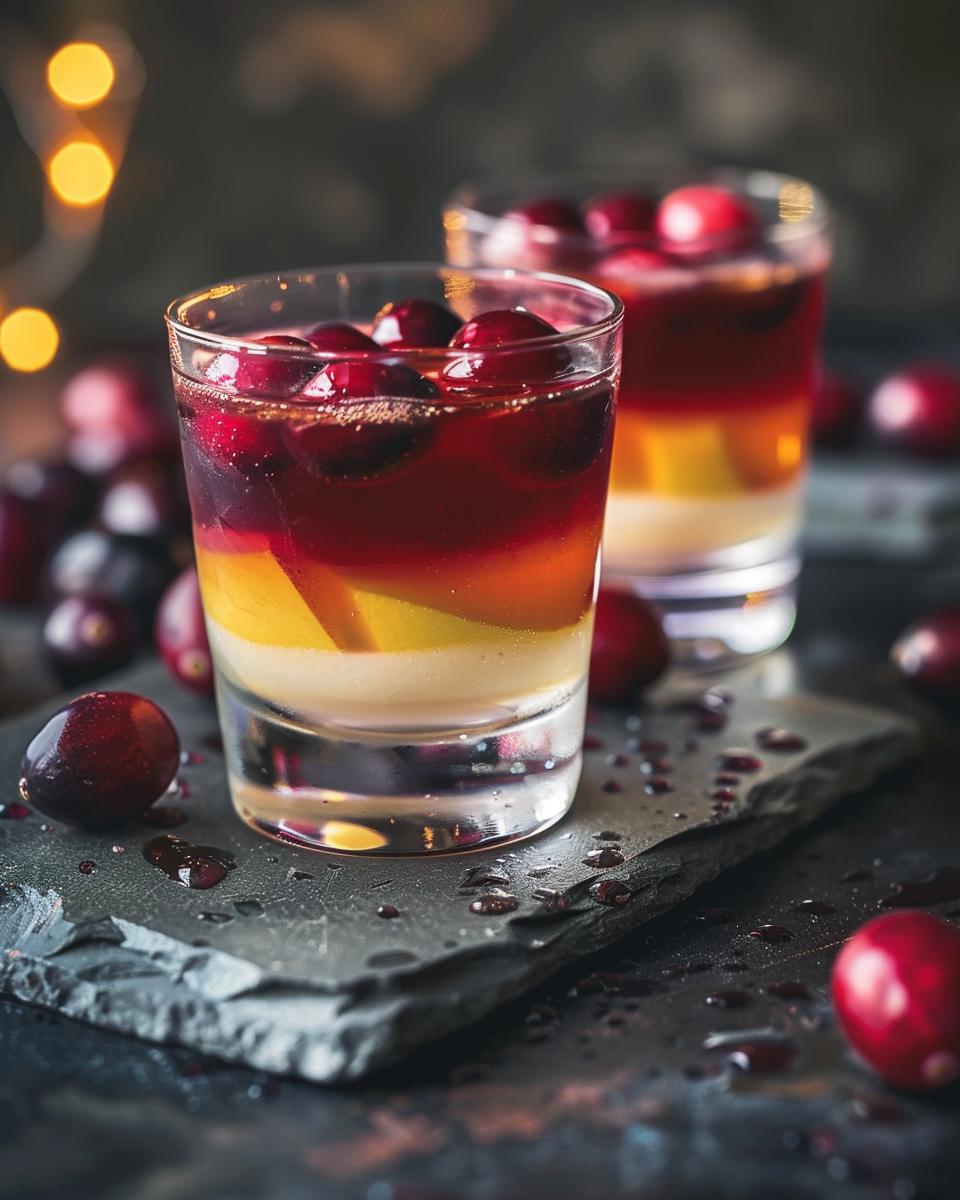
- Pour the spirits: Begin by pouring 1/3 oz of peach schnapps into your shot glass. This sweet liqueur forms the base of our shot and sets the stage for a delicious experience.
- Layer carefully: If you’re opting for a layered shot, gently pour 1/3 oz of Irish cream liqueur over the back of a spoon to rest on top of the schnapps. This technique requires a steady hand, but the result is impressive!
- Add a splash of grenadine: To finish, carefully add a few drops of grenadine syrup. It will sink to the bottom, creating that signature red-headed look.
- Chill to perfection: To chill your shot without diluting it, place the shot glasses in the freezer for about an hour before serving. Alternatively, you can stir the ingredients with ice before straining into the glasses.
Like the scooby snack shot recipe, the key is in the balance of flavors. And if you’re looking for something with a bit more kick, take inspiration from the vegas bomb shot recipe tipsy bartender style and add a splash of energy drink before serving.
Remember, practice makes perfect. So don’t be afraid to experiment with the pour and layering until you’ve mastered your technique. Your friends will be asking for your secret to the perfect Red Headed Shot in no time!
Serving and Storing Tips for the Red Headed Shot
Now that you’ve mastered the art of making a delicious Red Headed Shot, let’s talk about how to serve it with style and store it for later enjoyment. Whether you’re a seasoned bartender or a casual enthusiast, these pointers will ensure your shots are always a hit. Have you ever wondered how to mix the perfect balance of flavors? Or perhaps you’re curious about the secret to a perfectly chilled shot without any dilution? Keep reading, and we’ll dive into all that and more.
Achieving the Perfect Serve
First things first, getting the proportions right is key to replicating that green tea shot taste everyone loves. A well-balanced Red Headed Shot should tantalize the taste buds without overwhelming them. If you’re feeling fancy and want to impress your guests, consider layering the ingredients. This technique not only adds a visual flair but also allows the flavors to unfold as the shot is consumed.
To ensure your shots are refreshingly cool, the trick is to chill the glasses beforehand. This way, you can achieve that perfect chill without the risk of diluting the drink with ice. Now, if you’re planning to include this shot in a lineup featuring a simple Vegas bomb shot recipe or the classic Washington apple shot ingredients, keeping your glasses in the freezer will make the transition seamless and your presentation professional.
When it comes to storage, if you’ve mixed a larger batch and have leftovers, it’s best to store the mixture in a tightly sealed container in the refrigerator. It’ll keep for a few days, ready for your next gathering or a quiet evening at home. Remember, the key to a great shot is freshness, so don’t let your concoction sit for too long.
Whether you’re serving up shots at a lively party or savoring one after a long day, these tips will make sure your Red Headed Shots are always served at their best. So, are you ready to put these tips to the test and enjoy the perfect shot?

Pro Tips for Crafting the Perfect Red Headed Shot
- Always chill your glassware beforehand to keep the red headed shot recipe cool.
- Furthermore, use premium ingredients to enhance the rich flavors of your shots.
- For an even taste, precisely measure your spirits and mixers.
- Additionally, consider layering the ingredients to create a visually appealing shot.
- Shake the mixture with ice and strain it to avoid diluting the shot.
- Moreover, serve immediately after preparation for the best experience.
- To save time, batch prep your shots for larger gatherings.
- Finally, store your spirits in a cool, dark place to maintain quality.
FAQ: Ingredient Substitutions and Cost-Saving Tips
When it comes to crafting the perfect Red Headed Shot, we all have questions. Can you make it with different ingredients? How do you save a few bucks without skimping on taste? Let’s dive into some of the most common queries!
Popular Questions About Red Headed Shots
Q1: What can I use instead of Grand Marnier for a lower Grand Marnier alcohol content in my shot?
A1: If you’re looking to lower the alcohol content or simply don’t have Grand Marnier on hand, consider substituting it with orange juice or a splash of orange liqueur with a lower alcohol percentage. This will still give you that citrusy kick without the high alcohol content.
Q2: I love the cherry bomb cocktail amaretto flavor; can I incorporate it into a Red Headed Shot?
A2: Absolutely! Amaretto’s sweet, almond-like flavor pairs wonderfully with the cranberry juice typically used in a Red Headed Shot. Just replace half of the cranberry juice with amaretto to create a delightful twist on the classic Red Headed Slut Shots.
Q3: Is there a non-alcoholic version of the red-headed stepchild shot recipe?
A3: Yes, for a non-alcoholic take, mix cranberry juice, peach nectar, and a splash of lemon or lime soda. It’s a refreshing mocktail that captures the essence of the original shot.
Cost-Saving Tips and Flavor Enhancements
Q1: How can I make a Red Headed Shot on a budget?
A1: Opt for store-brand or lesser-known liquor brands that are more affordable but still of good quality. Buying in bulk can also help save money in the long run, especially if Red Headed Shots are a staple at your gatherings.
Q2: Any additional tips for enhancing the shot’s flavor or presentation?
A2: Garnish with a slice of orange or a maraschino cherry to add a pop of color and a hint of extra flavor. For an even more impressive presentation, chill the glasses beforehand, so your shots are refreshingly cool.