Grandma Brown Bean Recipe: A Delicious Journey into Family Secrets
Have you ever wondered why the grandma brown bean recipe tastes like a warm hug from the past? It’s not just the beans or the molasses. It’s the stories, the laughter, and the secrets simmering in that pot. Today, we’re diving deep into the heart of family kitchens to unlock the magic behind these recipes. But, it’s not just about the beans. It’s about the bonds that food can forge across generations.
In this recipe:
- Discover the secret ingredients behind the magic.
- Learn how food connects us with our past.
- Unlock family secrets with every bite.
Moreover, if you’re curious about more than just the recipe, check out Grandma Brown’s Baked Beans: Secret Recipe Revealed! It’s a treasure trove of culinary heritage. Also, for those seeking a deeper dive, Grandma Brown Baked Bean Recipe Unlocks Cozy Secrets offers a heartwarming look into the cozy mysteries of this beloved dish. So, let’s embark on this delicious journey together, spoon in hand, ready to stir up more than just beans.

Who Can Make Grandma Brown’s Baked Beans
So, who can whip up these comforting, savory beans? The answer is simple: anyone. Yes, that includes you! Whether you’re a beginner just starting to navigate the kitchen or an experienced chef, the easy grandma brown bean recipe is within your reach. All you need is a bit of patience, a dash of love, and the willingness to follow a few straightforward steps.
Kitchen Tools You’ll Need
Before diving into the best grandma brown bean recipe, let’s talk tools. You’ll need either an oven or a slow cooker. The choice is yours, and it largely depends on how much time you have. For a leisurely day, the oven method lets the flavors meld together slowly. In contrast, the grandma brown bean recipe slow cooker version is perfect for setting it and forgetting it, especially on busy days. Regardless of the method, the end result is always a pot full of love and tradition.
At the heart of this recipe is not just the tender beans or the rich sauce; it’s the importance of pouring your heart into what you cook. Remember, the best dishes aren’t rushed. They’re nurtured with patience and care, much like the relationships we cherish in life.
For a tried and true version of this beloved recipe, check out Adventure of a Nurse’s take on Grandma Brown’s Baked Beans. It’s a fantastic resource whether you’re looking to follow the traditional oven-baked route or opting for the convenience of a slow cooker. Dive into the recipe, and let the comforting, homely flavors transport you back to Grandma’s kitchen, where every meal was served with a side of love.
Ingredients Needed for Grandma Brown’s Baked Beans
Now that we’ve covered the equipment, let’s dive into the heart of any recipe: the ingredients. The right selection can elevate Grandma Brown’s baked beans from good to unforgettable. Ever wonder why some dishes taste just like grandma used to make? It’s all in the ingredients. So, how do we choose the best ones for our grandma brown baked beans recipe? Let’s find out.
Choosing Your Ingredients
Every ingredient in Grandma Brown’s baked beans plays a pivotal role in crafting its signature flavor. But, don’t worry. I’ve got tips to ensure you pick the best, whether you’re at your local market or rummaging through your pantry.
- 1 lb dried navy beans (For a quicker option, canned beans work too. Just rinse them well.)
- 1 medium onion, finely chopped (Adds a subtle sweetness.)
- 3 tablespoons molasses (For a deeper flavor, try blackstrap molasses.)
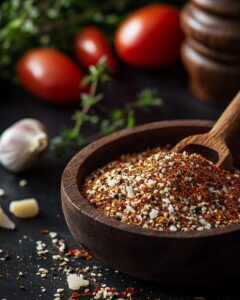
- 2 teaspoons mustard powder (A key spice for that tangy kick.)
- 1/4 cup ketchup (Or tomato sauce for a less sweet option.)
- 1/2 cup brown sugar (Adjust according to your sweetness preference.)
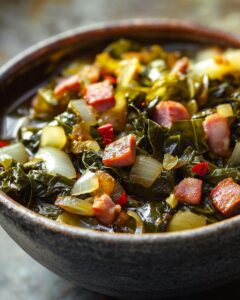
- 1/4 pound bacon, chopped (For a vegetarian version, omit or use a smoky vegan substitute.)
- Salt and pepper to taste
For the navy beans, quality is key. Look for beans that are uniform in size to ensure even cooking. When it comes to molasses and brown sugar, opting for organic can enhance the flavor profile of your grandma brown’s baked beans. And remember, the choice of bacon can significantly influence the dish’s overall taste, so select a good quality bacon, or explore smoky flavors with vegan alternatives.

Step-by-Step Guide to Making Grandma Brown’s Baked Beans
Now that we’ve gathered all our ingredients, let’s dive into the heart of making homemade Grandma Brown’s baked beans. Ever wondered how to bring that nostalgic taste into your kitchen? Follow these steps closely, and you’ll have a dish that might even make Grandma proud.
First things first, preparation is key. Have you pre-soaked your beans? If not, let’s start there. Soaking them overnight will do wonders for the cooking time and texture. Next, drain and rinse the beans to remove any impurities. This step ensures we’re off to a good start.
Let’s Get Cooking!
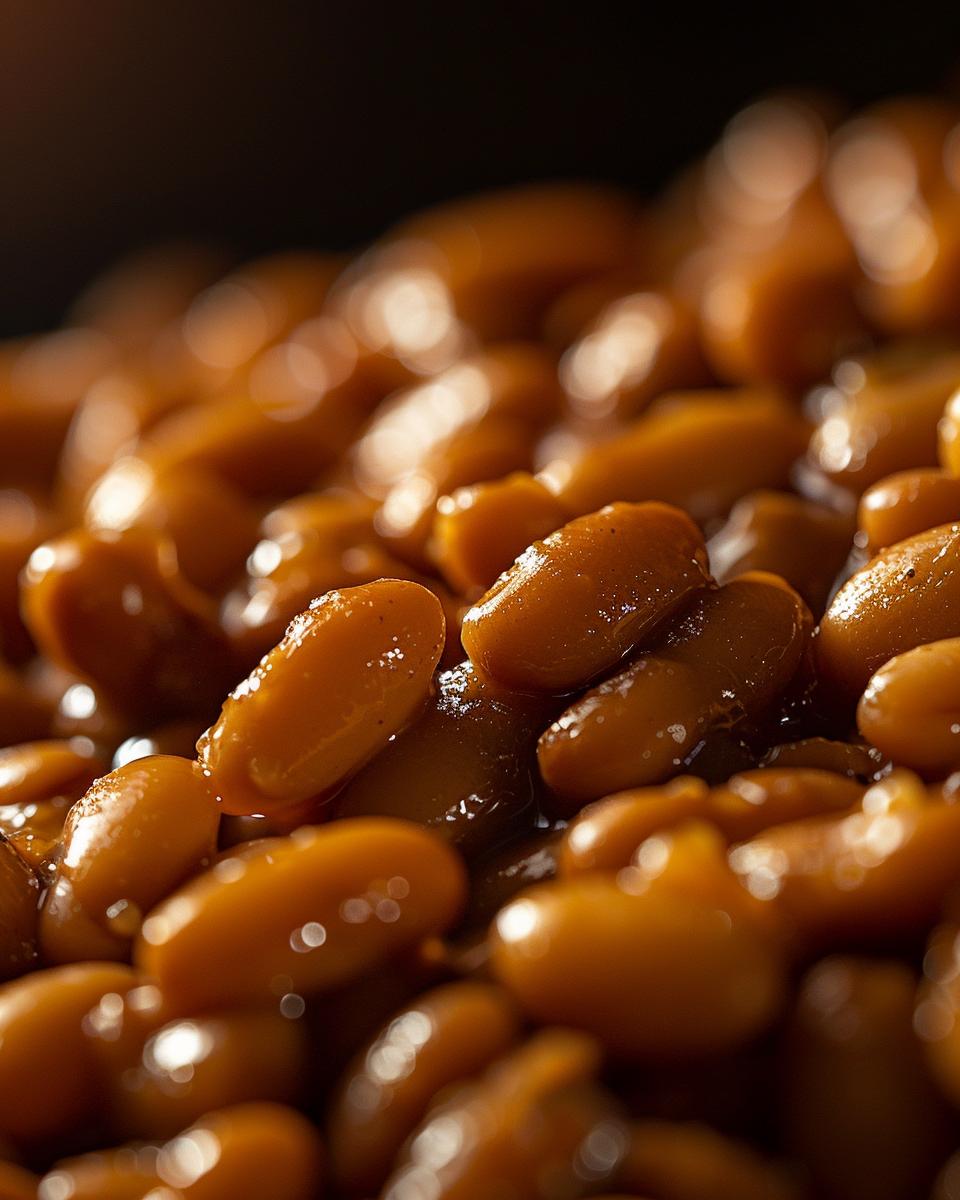
Preheat your oven to 325°F (165°C). Why this specific temperature? It’s the sweet spot for baking beans slowly, allowing all the flavors to meld together beautifully. Now, in a large oven-safe pot, combine the beans with fresh water. For that authentic Grandma Brown’s home baked beans recipe taste, add in the molasses, brown sugar, mustard, and your diced onion. Stirring gently, let the mixture come to a simmer on the stovetop.
Once you’ve achieved a gentle simmer, cover the pot and transfer it to the oven. Here’s where patience plays a part. Bake for about 3-4 hours, checking occasionally. You’re aiming for beans that are tender but not falling apart. Halfway through, if the beans seem dry, don’t hesitate to add a little more water.
The final stretch involves uncovering the pot and baking for another 30 minutes. This step intensifies the flavors and creates that perfect texture balance we’re after. So, did we achieve the ideal recipe for Grandma Brown’s baked beans?
Remember, cooking is part art, part science. Don’t worry if it takes a few tries to perfect. The beauty of this recipe lies in its simplicity and the love stirred in. Enjoy the process and the delicious results!
Serving and Storing Ideas for Grandma Brown’s Baked Beans
Now that you’ve mastered the art of making Grandma Brown’s baked beans, let’s talk about the best ways to serve and store them. After all, what’s cooking without sharing the love, right? Whether you’re a novice in the kitchen or a seasoned chef, these tips will ensure your baked beans are always a hit.
Grandma Brown Baked Beans Serving Ideas
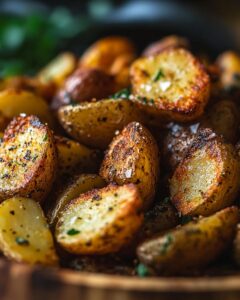
First off, think about presentation. A beautiful serving dish can elevate your beans from a simple side to the star of the meal. But, what about the taste? To get the perfect balance of flavor and texture, consider adding a sprinkle of fresh herbs or a dash of smoked paprika before serving. These small touches can make a big difference, making your beans not just a dish but an experience.
Now, for storing Grandma Brown’s baked beans, it’s simpler than you might think. Ensure they cool down completely before you think about refrigeration. This step is crucial for food safety and maintaining the beans’ quality. Airtight containers are your best friend here, keeping the beans fresh and ready to enjoy for up to four days in the fridge.
Wondering about reheating baked beans tips? Always opt for slow and steady. Whether you’re warming them in a saucepan over low heat or giving them a quick zap in the microwave, stirring occasionally will help keep the texture just right. Remember, a little extra liquid can prevent them from drying out, ensuring they’re just as delicious as when they were first made.
So, there you have it—serving and storing Grandma Brown’s baked beans is a breeze. With these tips, you’re all set to impress at your next family gathering or cozy night in. Ready to dive in?

Pro Tip: Enhancing Your Grandma Brown Bean Recipe
- Firstly, soak beans overnight to shorten cooking time and improve texture.
- Secondly, always taste as you go to balance flavors perfectly.
- Moreover, a pinch of baking soda can soften beans faster.
- Additionally, consider adding a smoked ham hock for deeper flavor.
- Importantly, low and slow cooking ensures perfectly tender beans.
- Finally, let the beans rest before serving to enhance their richness.
FAQ: Perfecting Your Grandma Brown’s Baked Beans
After diving into the pro tips, let’s tackle some of your burning questions on making Grandma Brown’s baked beans just right. Whether you’re aiming for that authentic taste or looking for a twist, we’ve got you covered.
Popular Questions Answered
Q: What can I use as a Grandma Brown’s baked beans substitute for dietary needs?
A: For those with dietary restrictions, consider using a low-sodium or vegetarian beans alternative. You can also swap out sugar for maple syrup or honey for a healthier touch. These substitutions ensure you don’t miss out on the rich, comforting taste while adhering to your dietary preferences.
Q: How can I save money without compromising the quality of Grandma Brown’s baked beans?
A: Opt for buying beans in bulk and look for sales on other ingredients. Consider a Grandma Brown’s baked beans alternative recipe that uses less expensive ingredients without sacrificing flavor. For instance, using bacon ends instead of full slices can cut costs while still delivering that smoky taste.
Q: Are there any tips for making the recipe my own?
A: Absolutely! Experiment with adding ingredients like apple cider vinegar for a tangy twist or a dash of liquid smoke for deeper flavor. Personalizing your baked beans allows you to create a dish that’s uniquely yours while keeping the essence of Grandma Brown’s classic recipe.
Q: Can I make these baked beans in a slow cooker?
A: Yes, making Grandma Brown’s baked beans in a slow cooker is a fantastic way to let the flavors meld together over time. Just be sure to adjust the cooking time accordingly and check for doneness.
Q: What’s the best way to store leftovers?
A: Leftover baked beans can be stored in an airtight container in the refrigerator for up to 5 days. They actually taste even better the next day as the flavors continue to develop!