DQ Crunch Cone Recipe: How to Make Your Favorite Frozen Treat at Home
Have you ever craved that unique, crunchy texture of a DQ crunch cone, but found yourself miles away from the nearest Dairy Queen? You’re not alone. This post brings the coveted dq crunch cone recipe right into your kitchen. Now, you can unleash that frozen bliss anytime, anywhere.
In this recipe:
- Step-by-step guide to making your own DQ crunch cone
- Tips to achieve the perfect crunch every time
- How to customize your cone with various toppings
Additionally, for those who love experimenting with ice cream, our Fruit Roll-Up Ice Cream Magic recipe is a must-try. And if you’re aiming for a healthier twist without sacrificing taste, dive into the Anabolic Ice Cream Greg Doucette Recipe. Both promise to add an exciting twist to your homemade ice cream adventures.
Now, let’s gear up to create that irresistible crunch. With a few simple ingredients and this guide, your kitchen will soon smell like the sweetest Dairy Queen branch around. Ready? Let’s dive in!

Who Can Make This DQ Crunch Cone Recipe
Wondering if the Easy DQ Crunch Cone Recipe is for you? Whether you’re a novice in the kitchen or have advanced homemade ice cream skills, this recipe is designed for everyone. With straightforward instructions and a sprinkle of creativity, anyone can recreate this iconic treat.
Essential Tools and Tips for Ice Cream Mastery
To embark on this chilly culinary adventure, you’ll need some basic kitchen tools for ice cream. A reliable ice cream maker, a sturdy cone holder, and a microwave-safe bowl for melting chocolate are paramount. Don’t have an ice cream maker? No worries. There are plenty of no-churn recipes online to get that creamy texture without the gadget.
For those just dipping their toes into the world of homemade treats, preparation tips for beginners are invaluable. Start by reading the recipe thoroughly before diving in. This ensures you understand the process and have all necessary ingredients and tools at hand. Also, patience is key; good ice cream takes time. Allow ample time for your mixture to chill and freeze to perfection.
The time commitment for this Easy DQ Crunch Cone Recipe is minimal, making it a fun weekend project or a sweet surprise for a family dinner. In just a few hours, including freeze time, you’ll be ready to assemble and serve your very own Crunch Cones.
Ready to get started? For a detailed guide and more delicious inspiration, check out this fantastic recipe that breaks down the process into easy-to-follow steps. Your journey to becoming an ice cream connoisseur begins here!
Ingredients Needed for DQ Crunch Cone
Now that we’ve covered the minimal equipment needed, let’s dive into the ingredients. Choosing the right ingredients is crucial for achieving that iconic crunch cone perfection. Ever wondered what makes a crunch cone so irresistible? It’s all in the ingredients. So, let’s get to it, shall we?
Crunch Cone Ingredients List
For the crunchy coating, you’ll need:
- 1 cup crushed chocolate cookies
- ½ cup crushed nuts (peanuts, almonds, or your choice)
- 2 tablespoons rainbow sprinkles
- ½ cup of melted chocolate (for binding)
Considering a homemade soft serve? Here’s a simple recipe:
- 2 cups heavy cream
- 1 cup sweetened condensed milk
- 1 teaspoon vanilla extract
But what if you can’t find certain ingredients or have dietary restrictions? No worries, I’ve got you covered with some ingredient substitutes.
- For a nut-free option, use crushed pretzels or seeds like pumpkin or sunflower.
- Lactose intolerant? Use coconut cream and dairy-free condensed milk for the soft serve.
Remember, the key to a great crunch cone is not just the ingredients but how you mix and match them. Feel free to experiment and make it your own. After all, the best part about making your crunch cone is the joy of customizing it to your taste. Happy crafting!

Step-by-Step Guide to Making DQ Crunch Cone
Now that we’ve got our ingredients ready, let’s dive into the fun part: making our crunch cone. Ever wondered how to bring that classic DQ magic into your kitchen? Well, wonder no more! We’re about to embark on a delicious journey together.
Mixing and Preparing the Crunchy Topping
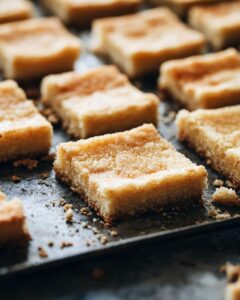
First things first, let’s get our crunchy topping ready. You’ll want to mix your crushed cookies or cereal with a bit of melted chocolate. Why? Because it’s the glue that holds all that crunchy goodness together. Spread this mixture out on a baking sheet and let it chill. Once it’s set, break it into small, bite-sized pieces. This is your crunch topping, the star of the show.
Next, onto the DIY soft serve ice cream. If you’ve got an ice cream maker, now’s its time to shine. Follow your manufacturer’s instructions, but typically, you’ll mix your ingredients and let the machine do its magic. No ice cream maker? No problem. There are plenty of no-churn recipes out there that are just as creamy and delicious.
Assembling the Crunch Cone
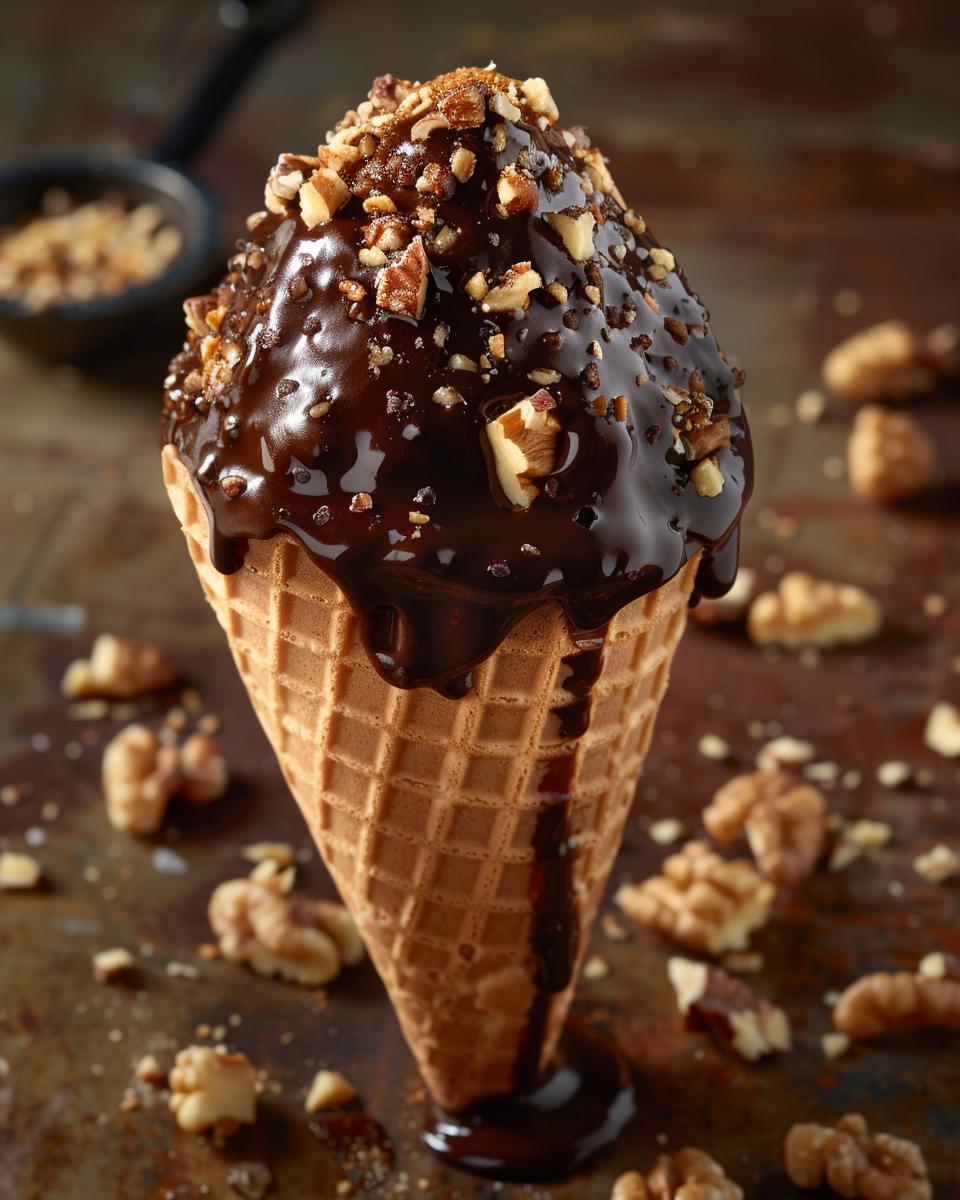
Finally, the moment we’ve all been waiting for: assembling our crunch cone. Start with a generous scoop of your homemade soft serve. Dip it into your crunchy topping, ensuring a nice, even coat. Then, carefully place it onto your cone. And there you have it, your very own DQ-inspired crunch cone, ready to enjoy.
So, how did yours turn out? Making your own crunch cone might seem daunting at first, but with these steps, it’s as easy as pie. Or should I say, as easy as ice cream? Either way, you’ve got this. Enjoy that crunch!
Serving and Storing Ideas and Tips
Now that you’ve mastered the art of making a crunch cone, let’s dive into the best part: serving and storing. Are you ready to assemble the ultimate treat? Let’s get into it, ensuring your homemade delight remains as irresistible as when you first made it.
First off, let’s talk about mixing and preparing the crunchy topping. It’s simpler than you think. Have you ever wondered how to keep that perfect blend of texture and flavor? Well, the secret is in the mix. Ensure your toppings are well combined before rolling your freshly scooped ice cream into it. This step guarantees every bite is as satisfying as the last.
Keeping Homemade Ice Cream Fresh
Now, onto the ice cream. If you’ve taken a bold step to make your own soft-serve at home, kudos! Storing homemade ice cream is crucial for maintaining its freshness. Always opt for an airtight container and keep it at the back of your freezer. This spot is coldest, helping your ice cream stay just the right consistency.
Finally, assembling the crunch cone is where the magic happens. Layer your ice cream and crunchy topping for that ultimate experience. But what if you have leftovers? Yes, storing your crunchy topping is also essential. Keep it in an airtight container at room temperature. This way, it stays crisp and ready for your next serving.
So, there you have it. Serving homemade crunch cone is a breeze with these tips. And storing? Just as easy. Whether it’s keeping your homemade ice cream fresh or ensuring your crunchy topping remains crisp, these ideas have you covered. Now, who’s ready for seconds?

Pro Tip: Mastering the DQ Crunch Cone Recipe
- Firstly, ensure all ingredients are at room temperature for uniform mixing.
- Secondly, for a finer crunch, pulse the topping mixture briefly in a food processor.
- Moreover, when mixing the crunchy topping, use a fork to avoid clumping.
- Additionally, chill your serving cones in the freezer to prevent melting.
- Importantly, always fold in the crunchy topping gently to maintain texture.
- Also, for extra flavor, lightly toast the topping mixture before assembly.
- Lastly, store any leftover crunchy topping in an airtight container to keep fresh.
FAQ: Ingredient Replacements, Money-Saving Options, and More
Got questions about making the perfect crunch cone? You’re in the right place! Let’s dive into some of the most common queries, with answers that’ll help you whip up this treat like a pro.
Top Questions Answered
1. How can I replace specific ingredients for dietary restrictions?
Great question! For those looking to avoid dairy, coconut cream is a fantastic alternative to traditional ice cream bases. And if gluten is a concern, gluten-free cones are readily available and taste just as delicious. Don’t let dietary restrictions hold you back from enjoying a crunch cone!
2. Any tips for making this recipe on a budget?
Absolutely! One of the best money-saving tips is to buy ingredients in bulk, especially when it comes to the toppings. Also, consider making your ice cream at home. It’s not only cost-effective but also allows for customization. Plus, homemade always tastes better, right?
3. What advice do you have for first-timers on achieving the best texture and flavor?
For those new to the crunch cone game, focus on the quality of your ice cream. A creamy, rich base makes all the difference. And for the crunch? Toast your toppings slightly before adding them to the cone. This enhances both the texture and flavor, taking your crunch cone to the next level.
Ready to get started? Check out this fantastic guide for making your own crunch cone at home. Happy crunching!