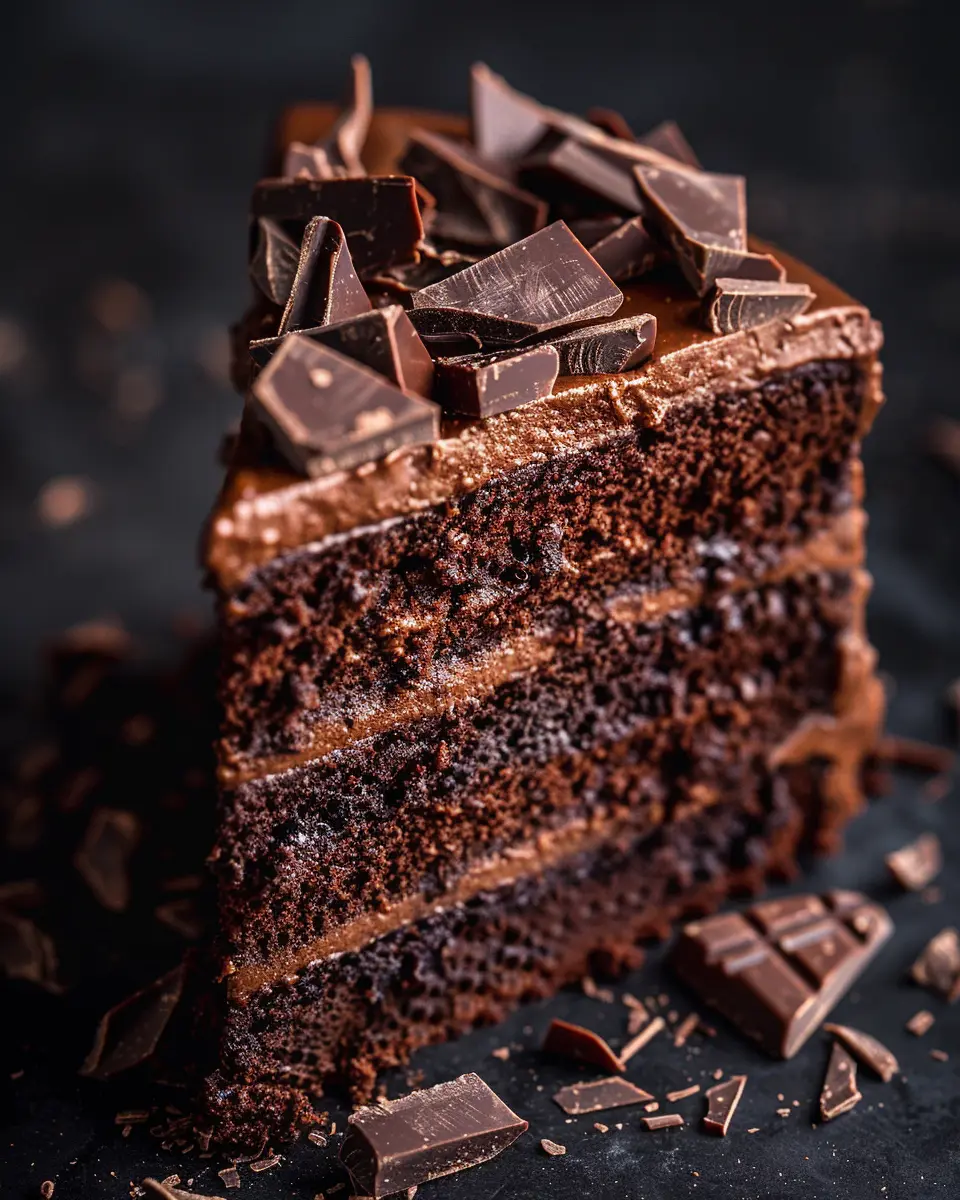
Death by Chocolate Recipe: Indulge in the Ultimate Dessert Bliss
- Discover the ultimate death by chocolate recipe.
- Learn how to blend Desserts & Sweets into a heavenly treat.
- Master the art of Cakes & Bakes for your indulgence.
Ever craved something so rich, so decadent, it feels almost sinful? Imagine a dessert that combines all your favorite chocolate elements into one. That’s exactly what our death by chocolate recipe offers. Now, you can indulge in the ultimate dessert bliss that will have your taste buds soaring to new heights of delight.
Indeed, chocolate lovers, this is your moment. Furthermore, we know that nothing satisfies a sweet tooth quite like a layered masterpiece of chocolatey goodness. Therefore, our death by chocolate recipe is not just a treat; it’s an experience. Moreover, it’s a journey through the best of Desserts & Sweets, a true testament to the art of Cakes & Bakes.
Are you ready to embark on this delicious adventure? Then, let’s dive into a world where chocolate is king and every bite is a royal decree of pleasure. Additionally, this recipe is not just about satisfying your cravings—it’s about creating memories that linger long after the last crumb has been savored. So, tie on your apron and prepare to be crowned the monarch of dessert time!

Preparation Profile for Death by Chocolate
So, you’re set to tackle the ultimate chocolate dessert challenge. But, what should you know before diving in? Firstly, let’s talk about the Chocolate Dessert Difficulty. This recipe is versatile; it’s designed for beginners and experienced bakers alike. Whether you’re just starting out or you’re a seasoned pro, you’ll find joy in the creation process.
Baking Equipment List
Secondly, you’ll need the right tools. Here’s your essential Baking Equipment List:
- Quality mixing bowls
- Measuring cups and spoons
- Electric mixer or whisk
- Spatula
- Sieve for sifting dry ingredients
- Springform or layered cake pans
- Cooling rack
- Parchment paper
Remember, having everything on hand streamlines your baking adventure.
Lastly, consider the Death by Chocolate Time. Allocate at least a few hours for this indulgent project. From prepping your ingredients to the final touches of ganache, this is not a rush job. Savor each step, as the end result is worth every minute. For inspiration, check out these creations.
In conclusion, with the right skill level, equipment, and time, you’re all set to create a death by chocolate dessert that’s truly to die for. Now, let’s get baking and make chocolate history!
Gather Your Ingredients
Now that we’ve covered the minimal equipment needed, let’s pivot to the stars of the show: the Death by Chocolate Ingredients. Selecting the right components is crucial for achieving that luxurious, indulgent taste we all crave in a chocolate dessert. Ever wonder why some chocolate treats taste heavenly while others fall flat? Spoiler alert: it’s all in the quality of the ingredients.
Quality Matters
Before we dive into our comprehensive list, let’s talk about quality. When preparing a Chocolate Dessert, the quality of your ingredients can make or break your culinary masterpiece. High-quality chocolate, for instance, is non-negotiable. It’s the very essence of this dessert! Similarly, the richness of heavy cream and the freshness of eggs will all reflect in the final product. So, shall we start our chocolate adventure?
- High-quality dark chocolate (70% cocoa) – 8 ounces
- Unsalted butter – 1 cup
- Granulated sugar – 1 1/2 cups
- Large eggs – 4
- All-purpose flour – 1 cup
- Unsweetened cocoa powder – 1/2 cup
- Instant espresso powder – 1 teaspoon
- Vanilla extract – 2 teaspoons
- Heavy cream – 1/2 cup
- Confectioners’ sugar – for dusting
- Chocolate shavings or curls – for garnish
Got everything? Great! A quick tip before you start: measure out each ingredient before you begin. This not only saves time but also ensures that the baking process goes smoothly, without any hiccups. Trust me, when the chocolate cravings hit, you’ll want to be ready to whip up this dessert without a pause!

The Ultimate Death by Chocolate: Step-by-Step Guide
Now that you’ve got your delicious ingredients ready, let’s dive into the art of crafting this indulgent masterpiece. Ready to transform those simple components into a decadent dessert that will have everyone begging for more?
First things first, let’s talk about mixing instructions. Achieving the perfect consistency is crucial for your Death by Chocolate. Begin by melting your chocolate gently over a bain-marie or in short bursts in the microwave, stirring frequently to ensure it’s silky smooth. In a separate bowl, whip up your eggs and sugar until they’re fluffy and light. Gradually fold the chocolate into the egg mixture, being careful not to deflate that airy texture you’ve worked so hard to create.
Layering Your Dessert Like a Pro
Now, let’s focus on the Chocolate Layering Techniques. Pour a layer of the chocolate mixture into your baking dish, followed by a layer of chocolate chunks or chips for an extra chocolatey surprise. Next, add a layer of your favorite brownie or cake pieces, soaking them slightly with a drizzle of coffee or liqueur for added moisture and flavor. Repeat these layers until your dish is filled, ending with a smooth chocolate layer on top.
With your layers beautifully assembled, it’s time for the Baking Instructions Chocolate lovers need to know. Preheat your oven and slide your creation inside, baking it just until set. You’re aiming for a slight wobble in the center – this means a fudgy, gooey interior awaits.
Finally, the importance of Cooling Desserts Properly cannot be overstated. Once your dessert is baked, resist the temptation to dive right in. Allow it to cool gradually at room temperature, then chill it in the fridge to set those luscious layers. This patience pays off with a texture that’s both rich and refined.
So, have you preheated your oven yet? Are you envisioning slicing into that multi-layered chocolate haven? Follow these steps, and you’ll master the art of Death by Chocolate, creating a dessert that’s as stunning to look at as it is to eat. Get ready for a chocolate experience that’s truly to die for!
Serving and Storing Death by Chocolate
Now that you’ve mastered the art of making this indulgent treat, let’s dive into the best practices for serving and storing your Death by Chocolate. Achieving the perfect consistency is crucial, isn’t it? When you’re mixing your Death by Chocolate ingredients, do so with a gentle hand to keep the texture light and airy. Remember, the goal is to create a dessert that’s as pleasing to the palate as it is to the eye.
Layering Your Masterpiece
Layering is an art form in preparing chocolate dessert. Begin by spreading your first layer evenly across your serving dish. Then, sprinkle on a layer of your choice of crunchy texture—perhaps crushed cookies or nuts? Next, a layer of creamy filling follows, and so on. The key is to alternate textures and flavors, creating a visually stunning effect that’s sure to wow your guests. But how do you know when it’s baked to perfection?
For the baking and cooling process, patience is your best friend. Your dessert should be baked just until it’s set—no longer, lest you risk losing that desirable moistness. And cooling? Allow your Death by Chocolate to cool completely before attempting to slice into it. This ensures that each layer stays distinct and your slices are clean and beautiful.
Once you’re ready to serve, do you have your quality baking ingredients on display? A sprinkle of powdered sugar, perhaps, or a dollop of whipped cream on top? Each addition should complement the rich chocolate flavor without overpowering it.
Storing your dessert is just as important as the initial preparation. If you happen to have leftovers, cover them with plastic wrap or place them in an airtight container. Your Death by Chocolate can be refrigerated for up to 3 days, but let’s be honest—will it really last that long?
In the end, whether you’re a novice or a seasoned pro, these tips will ensure your Death by Chocolate is as delectable on day three as it was when you first sliced into it. So, are you ready to take your dessert game to the next level?

Pro Tips for Perfecting Your Death by Chocolate Recipe
- Always select the highest quality chocolate; it’s the star ingredient.
- For Cakes & Bakes, ensure your baking powder is not expired.
- Moreover, room temperature ingredients blend more seamlessly.
- Indeed, precise measurements are crucial for consistent results.
- Furthermore, use a water bath to melt chocolate to avoid burning.
- Also, allow the cake to cool completely before frosting.
- Additionally, for richer flavor, use coffee instead of water in the recipe.
- Finally, garnish with chocolate shavings for an elegant touch.
Death by Chocolate FAQs
After diving into our pro tips, let’s tackle some of the most common questions you might have about making this indulgent dessert. Whether you’re a seasoned baker or a chocolate-loving newbie, these FAQs will help ensure your Death by Chocolate is nothing short of heavenly!
Popular Questions on Making Death by Chocolate
Q1: Can I make substitutions in the chocolate recipe for dietary restrictions?
Absolutely! For those who are lactose intolerant, using lactose-free milk or a plant-based alternative like almond or coconut milk can work wonders. Gluten-free flour can replace regular flour for a gluten-free version. And, if you’re vegan, opt for dairy-free chocolate and egg substitutes. Remember, the key is experimentation to find the perfect balance for your dietary needs.
Q2: How can I make Death by Chocolate on a tight budget?
Creating a budget-friendly dessert doesn’t mean you have to compromise on taste. Use cocoa powder instead of pricier chocolate bars, and look for sales on ingredients. Also, consider making a smaller portion or serving the dessert in individual cups to stretch the recipe further. Every penny counts!
Q3: What are some common troubleshooting tips for baking problems?
Don’t panic if you hit a snag! If your cake is too dry, try adding a bit more milk or oil. If it’s too moist, a bit extra flour can help. Make sure your baking powder is fresh for the perfect rise, and always preheat your oven for even cooking. For more detailed guidance, check out this comprehensive guide.
Questions on Cakes & Bakes
Q1: How do I ensure my cake is moist and fluffy every time?
It’s all about the right measurements and not overmixing the batter. Use room temperature ingredients, and be gentle when combining your dry and wet ingredients. A secret tip? Add a spoonful of mayonnaise or sour cream for extra moistness!
Q2: Why does my cake sink in the middle, and how can I prevent it?
This often happens if the oven door is opened too early, causing a sudden temperature change. Another reason could be underbaking or an incorrect oven temperature. Use an oven thermometer to ensure accuracy, and be patient before taking a peek!